How to Build a Clinic Management App Using NotionApps in 2025(Step-by-Step)
A practical step-by-step guide to building a clinic management app using NotionApps, covering doctors, lab tests, appointment booking, testimonials, and more.
Jan 10, 2026
Managing a clinic involves juggling doctors, appointments, lab tests, and patient trust, often across multiple tools. For small and mid-sized clinics, this can quickly become messy and hard to scale. With NotionApps, you can turn simple Notion databases into a fully functional clinic app that’s easy to manage and even easier for users to navigate. In this guide, we’ll walk through how to build one step by step, without writing a single line of code.
Select the Notion databases you want to include and hit Build App.
For this project, the main screens we’ll be creating are:
Doctors: A dedicated screen to list all doctors, their specializations, availability, and contact details in one place.
Lab Tests: A structured view of all available lab tests, including test details, pricing, and related information for easy reference.
Book an Appointment: An interactive screen that allows users to book appointments by selecting a doctor, date, and preferred time slot.
Testimonials: A simple section to showcase patient feedback and reviews, helping build trust and credibility.
About Us: An informational page that highlights the clinic’s background, values, and key information for visitors.
Step 2: Set App Identity in Settings
Open Settings in the app.
Rename the app, pick an icon, and update any other identity details.
A clear name & icon help your team recognize the app at a glance.
Step 3: Remove Old Screens
Go to Screens → Layout, and delete the default screens that were automatically generated from your selected databases. This lets you start fresh and create only the screens you actually need for your app.
Step 4: Build the Doctors Screen
Create a new screen:
Click on New Screen → Select Doctors Database → List (View Items) → Done
Name the Screen → Doctors
Style Settings:
View Type → Grid
Grid Column Size → Small
Image Fill → Fill (Only accessible post selecting image file under Data Settings)
Grid Image Style → Square
Data Settings:
Title → Name
Description → Qualifications
Caption → Ratings
Image → Photo
Behaviour Settings:
Click on Go to Screen, this opens a new screen which allows users to View additional details about each doctor.
Rename the Screen as Consult Doctor
Delete all existing Logics and add the following:
View Name → Heading
Expand the View Name box and change Subheading → Specialization, Caption → Ratings and Chose Photo from the drop down for Image
View Qualifications → Text
View Years of Experience → Text
View Working Days → Text
View Available Time → Text
View Appointment Fees → Text
View Email → Contact Card
View Testimonials → Text
View Appointment Link → Button
Expand this option to add actions;
Under Action : On Click → Open Link & View Property → Book an Appointment
Under Style : Title → Book an Appointment & Color → Dark
Once that is done go back to the previous Doctors screen
Sorting Property : This ensures the highest-rated doctors appear first, making it easier for users to quickly discover the best-reviewed options.
Sort By → Ratings
Order → (Z-A)
In-App Filtering : Helps users find the right doctor instantly by filtering based on time, ratings, specialization, and fees.
Add the following filter properties according to the Image:
Step 4: Build the Lab Tests Screen
Create a new screen:
Click on New Screen → Select Lab Tests Database → List (View Items) → Done
Name the Screen → Lab Tests
Style Settings:
View Type → Grid
Grid Column Size → Small
Image Fill → Fill
Grid Image Style → Rectangle (Horizontal)
Data Settings:
Title → Name
Description → Test Category
Caption → Price
Image → Image
Behaviour Settings:
Click on Go to Screen, this opens a new screen which allows users to view additional details about each lab test.
Rename the Screen as Test Details
Delete all existing Logics and add the following:
View Name → Heading
Expand the View Name box and change Subheading → Test Category and Chose Images from the drop down for Image
View Sample Type → Text
View Fasting Required → Text
View Description → Text
View Price → Text
View Estimated reports → Text
View Book A Test → Button
Expand this option to add actions;
Under Action : On Click → Open Link & View Property → Book a Test
Under Style : Title → Book a Test & Color → Dark
In-App Filtering : lets users quickly find lab tests based on test type, cost, or availability without scrolling through long lists.
Set Filter Column → Test Category & Filter Name → Test Category
Step 5: Build the About Us Screen
Create a new screen:
Click on New Screen → Select About Us Database →Details (View One Item) → Done
Name the Screen → About Us
Delete all existing Logics and add the following:
View Company Name → Heading
Expand the View Name box and Chose Photos from the drop down for Image & set Image Style → Rectangle (Horizontal)
View Description → Text
View Email → Contact Card
Expand the View Email box and set Email → Email & Phone Number → Phone
Under Style, set Label → Contact Us
View Working Days→ Text
View Timings → Text
View Address → Address Viewer
View Video → Video Viewer
Step 6: The Book an Appointment Screen
Create a new screen:
Click on New Screen → Select Booking Requests Database →Details (View One Item) → Done
Name the Screen → Book an Appointment
Delete all existing Logics and add the following:
Label → Under Label you can write - “Hey there! We've got some great news for you - scheduling an appointment with us is now super easy! All you have to do is select a date and time that works for you, and we'll do the rest.”
View Images → Photo Viewer
View Booking Link → Button
Expand this option to add actions;
Under Action : On Click → Open Link & View Property → Booking Link
Under Style : Title → Book Now & Color → Dark
Step 7: The Testimonials Screen
Create a new screen:
Click on New Screen → Select Testimonials Database → List (View Items) → Done
Name the Screen → Testimonials
Style Settings:
View Type → List
Image Fill → Fill
Image Style → Large
Data Settings:
Title → Written By
Caption → Referred Doctor
Image → Photo
Behaviour Settings:
Turn on the Allow Search toggle, this lets users quickly find specific testimonials without scrolling through the entire list.
Click on Go to Screen, this opens a new screen which allows users to view additional details about each lab test.
Rename the Screen as Test Details
Delete all existing Logics and add the following:
View Written By → Heading
Expand the View Written By box and Chose Photo from the drop down for Image & set Image Style → Rectangle (Horizontal)
View Referred Doctor → Text
View Description → Text
Step 8: Update Navigation
Go to Edit Navigation and rename your tabs to match your app’s flow.
Update icons for a more intuitive interface.
Step 9: Publish and Share Your App
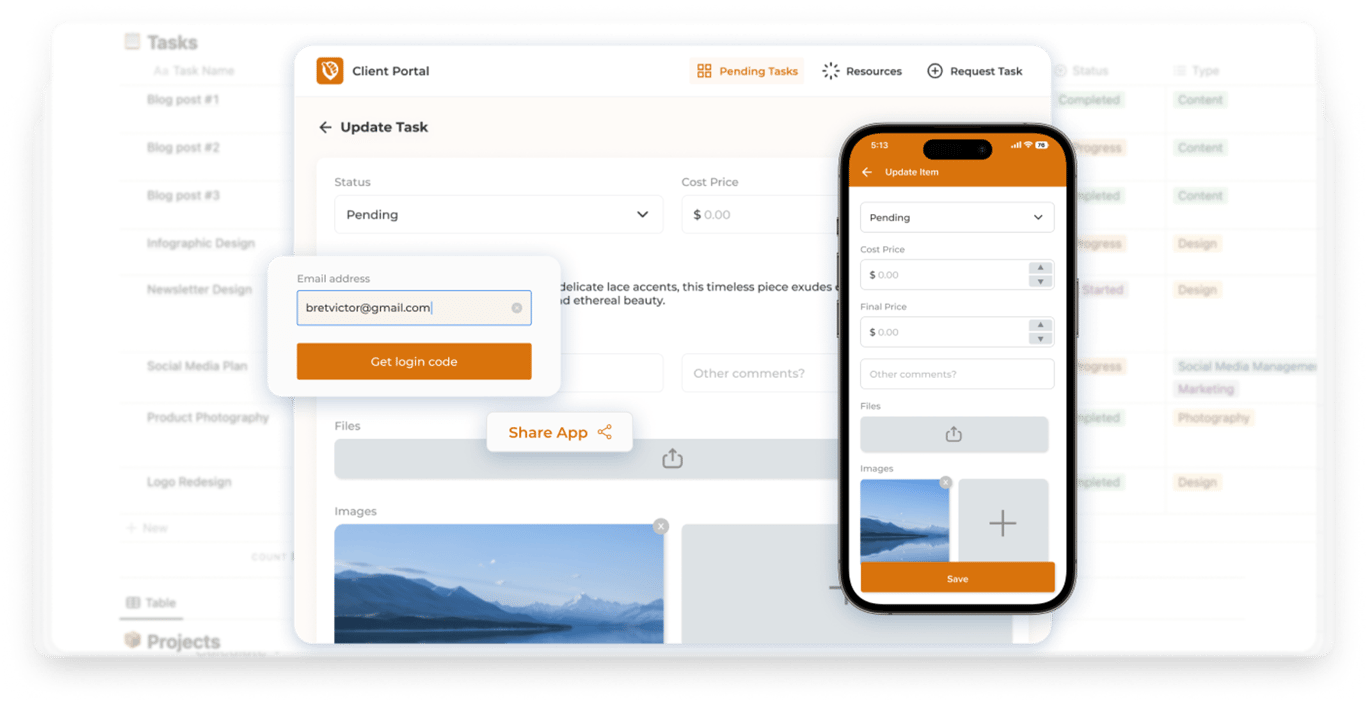
Once you’ve finished setting up all screens, filters, and layouts, click the Publish button in the top-right corner of the NotionApps builder to make your app live. After publishing, you can use the Share icon right next to it to copy the app link and share it with users.
Conclusion: A Simple, Scalable Clinic App Built with NotionApps
With NotionApps, building a clinic management app doesn’t require complex tools or custom development. By structuring your data in Notion and layering a clean app interface on top, you can manage doctors, lab tests, appointments, and clinic information from a single system.
What makes this approach powerful is its flexibility. You can start with a simple setup and gradually expand it as your clinic grows, adding new screens, filters, or workflows without rebuilding everything. Whether you’re managing a small clinic or experimenting with a digital-first setup, this app gives you a practical foundation that’s easy to maintain and adapt.
Once published, your app is ready to be shared and used across devices, turning your Notion workspace into a real, usable clinic system.
💡Pro Tip: NotionApps already offers a ready-to-use Clinic Management template that you can customize to fit your needs, along with many other templates designed for different use cases. You can access all templates through this link🔗